Worm Farming Basics: From Setup to Ongoing Care
Worm farming is a simple and rewarding way to turn kitchen scraps into rich compost for your garden. With minimal space and effort, you can set up a worm farm that produces valuable worm castings while reducing household waste. This guide will help you get started and keep your worms thriving.
Related: Why Every Gardener Should Start a Worm Farm
What is worm farming
Worm farming, also called vermicomposting, is the process of using composting worms to break down food scraps and organic waste. The worms digest the material and produce nutrient-rich castings that can be used as a natural fertilizer in gardens. Popular worm species for worm farming include red wigglers and European nightcrawlers due to their efficiency in breaking down waste.
Why start a worm farm
Starting a worm farm is an easy way to recycle kitchen scraps and reduce household waste. The worm castings created during the process are an excellent soil amendment that boosts plant health and growth. Worm farms are also compact and can be kept in small spaces, making them ideal for gardeners in urban or suburban areas.
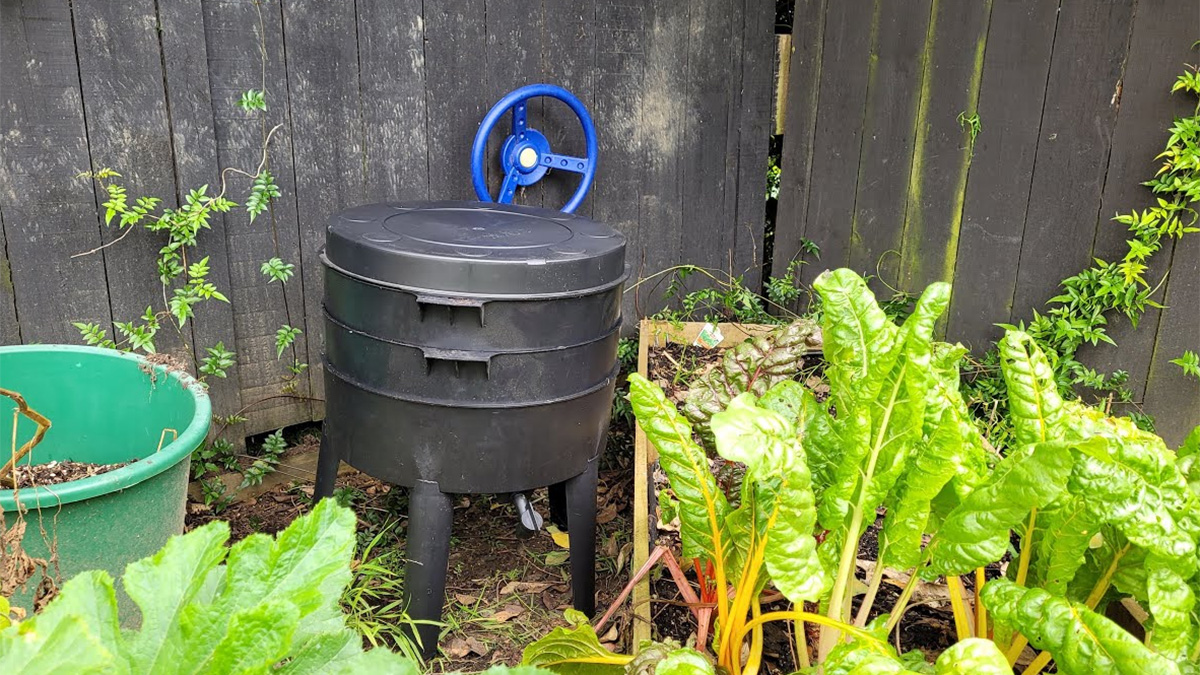
Choosing or building your worm farm setup
You can choose a commercial worm farm bin or build a DIY setup using storage containers or wooden boxes. Commercial bins often come with stacking trays that simplify harvesting castings, while DIY systems are affordable and customizable. Place your worm farm in a shaded, sheltered area that avoids extreme temperatures, such as a garage, patio, or shaded garden corner.
Setting up your worm farm
Start by filling your worm bin with damp bedding made from shredded newspaper, cardboard, or coconut coir. The bedding should feel like a wrung-out sponge, providing moisture and airflow. Once your bedding is prepared, gently add your composting worms and let them settle in for a day or two before adding food scraps.
Feeding your worms correctly
Feed your worms small amounts of fruit and vegetable scraps, coffee grounds, and crushed eggshells. Avoid feeding them citrus, onions, garlic, meat, and oily foods, which can create odors or harm the worms. Start feeding once or twice a week, adding more scraps as the worms multiply and consumption increases.
Maintaining a healthy worm farm
Check your worm farm regularly to ensure the bedding stays moist and the temperature remains moderate, ideally between 55 and 75 degrees Fahrenheit. A well-maintained worm farm should have little to no odor. If you notice fruit flies or ants, reduce feeding, cover scraps with more bedding, and make sure the bin is securely closed.
Harvesting worm castings
After a few months, you’ll notice that much of the bedding has turned into fine, dark worm castings. Harvest when the bin appears mostly filled with castings and has little visible food or bedding remaining. Use methods such as moving castings to one side of the bin and adding fresh bedding to the other to encourage worms to migrate, making it easier to separate them from their castings.
Troubleshooting common worm farm problems
If your worms are escaping or seem inactive, check for excessive moisture or dry conditions and adjust as needed. Strong odors often signal overfeeding or poor ventilation, so remove excess food and fluff the bedding to improve airflow. To manage pests like fruit flies, cover food scraps with bedding and avoid overloading the bin.
Conclusion
Starting a worm farm is an easy step toward more sustainable gardening. With the right setup and regular care, your worms will reward you with nutrient-rich compost to boost your plants and reduce waste year after year.