Growing Tulips: Beginner Friendly Tips for a Colorful Spring Garden
Tulips are a springtime favorite for good reason. They’re easy to grow, full of color, and a great choice for gardeners just getting started. In this guide, you’ll learn everything you need to grow healthy, vibrant tulips, from picking the right bulbs to caring for them after they bloom.
Related: How to Grow Beautiful Spring Bulbs in Containers
Why tulips are perfect for beginner gardeners
Tulips are one of the most beginner-friendly flowers you can grow. They require minimal care, are widely available, and reward you with a vibrant burst of color each spring. With the right timing and a few simple steps, even first-time gardeners can enjoy beautiful blooms.
These flowers are also incredibly versatile. Tulips can be planted in traditional garden beds, raised borders, or even containers on a patio. Their wide range of shapes and colors makes them ideal for creating custom displays suited to any garden style.
Tulips also bloom reliably when planted correctly. Once you’ve experienced a full tulip display, you may find yourself planting more each season to expand the impact.
Choosing the right tulip bulbs
When selecting tulip bulbs, it helps to understand their bloom times. Tulips are generally categorized into early, mid, and late bloomers, which allows you to extend the flowering season by mixing varieties. Early tulips bloom as soon as the soil begins to warm, while late bloomers often arrive alongside other spring flowers like irises and alliums.
There are also many types to choose from, including classic single tulips, double blooms that resemble peonies, and fringed or parrot tulips with ruffled petals. Start with a mix if you’re unsure, or choose one style for a more uniform look.
When buying bulbs, look for ones that feel firm and dry. Avoid any that are soft, shriveled, or moldy. Reputable sources include local nurseries and trusted online retailers that offer certified disease-free bulbs.
When and where to plant tulip bulbs
The best time to plant tulip bulbs is in the fall, typically six to eight weeks before your ground freezes. In most parts of the United States, this means planting between September and November. The bulbs need this cold period to develop roots before spring growth.
Choose a sunny spot that gets at least six hours of light a day. Tulips perform best in well-drained soil and do not like to sit in moisture for long periods. If your soil is heavy clay, consider raised beds or add compost and sand to improve drainage.
Planning ahead with your planting also gives you the opportunity to coordinate bloom times. Mixing early, mid, and late season varieties will ensure your tulips don’t all bloom and fade at once.
How to plant tulip bulbs
To plant tulip bulbs in the ground, dig holes about six inches deep, spacing the bulbs four to six inches apart. Place each bulb with the pointed side up and the flat side down. Gently cover them with soil and water them lightly to settle the ground.
For containers, use pots with drainage holes and fill them with well-draining potting mix. You can layer multiple types of bulbs in one pot, with tulips planted deeper and smaller bulbs like crocus or grape hyacinth on top. This method is known as lasagna planting and creates a tiered bloom effect in spring.
Bulb baskets can also be used if you want to lift the bulbs easily after flowering. These are especially helpful in small gardens or when planting in mixed flower beds.
Caring for tulips as they grow
Once tulips are planted, they require very little attention over winter. Water them once after planting and let nature do the rest. In most climates, fall and winter rains provide enough moisture for root development.
You can apply an organic bulb fertilizer at planting time to support healthy root growth. Mulch with straw or shredded leaves to help insulate the soil and prevent weeds. As spring approaches, watch for early growth and remove mulch if needed to allow the leaves to emerge.
Avoid watering heavily in spring unless there’s a long dry spell. Tulips are fairly drought-tolerant once they start growing and prefer not to sit in soggy soil.
What to do after tulips bloom
Once your tulips have finished blooming, it’s important to deadhead them by removing the spent flowers. This prevents the plant from putting energy into seed production. Leave the foliage in place, as it continues to feed the bulb for next year’s blooms.
Allow the leaves to die back naturally before cutting them down. This process can take a few weeks, but it’s key to keeping your tulips strong and reliable. If you’re lifting bulbs in warmer climates, wait until the leaves have fully yellowed, then store the bulbs in a cool, dry place.
Some tulip varieties return better than others. In colder regions, many types can be left in the ground to naturalize and come back year after year.
Bonus tips for a more colorful tulip display
To make your tulip garden stand out, consider pairing tulips with early spring bloomers like pansies, grape hyacinths, or daffodils. These companions fill in the gaps and create visual variety. Layering different heights and colors also adds depth and dimension to flower beds.
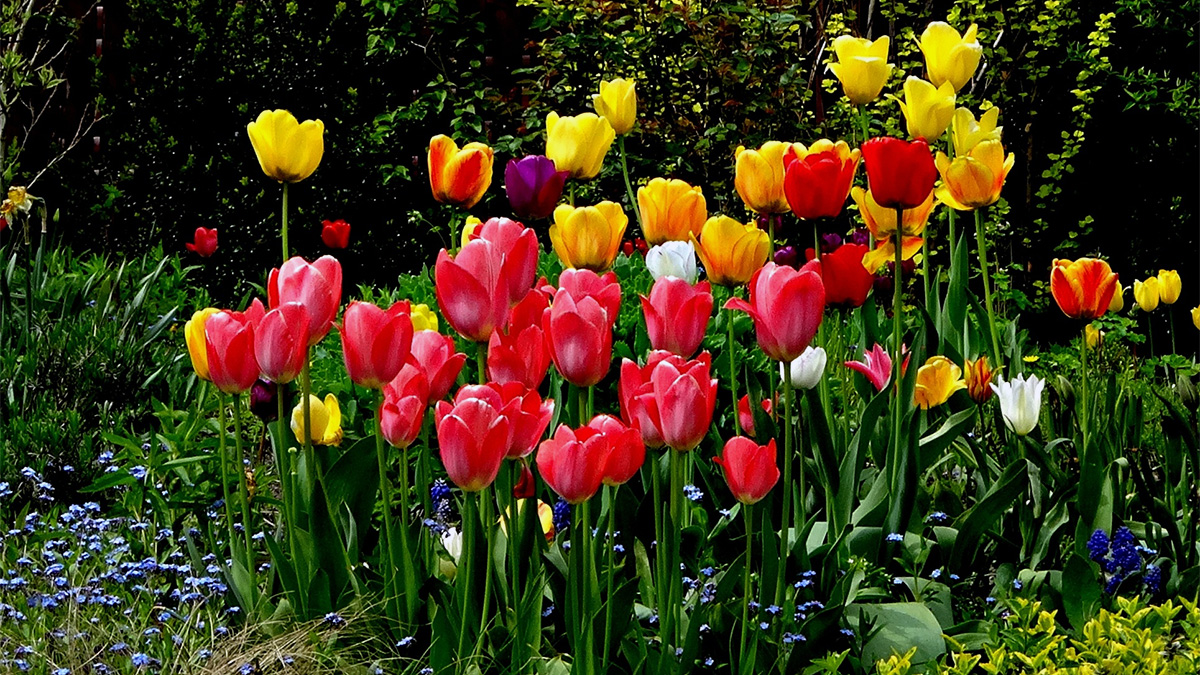
Choose tulip colors that contrast with your surrounding landscape. Bright reds, purples, and yellows pop against green grass and dark mulch. If you prefer a softer look, pastel pinks and whites create a calm, classic effect.
For added charm, use edging materials like bricks or stone borders to define your tulip beds. Garden ornaments, paths, and even small fencing can help frame your spring display and keep it tidy throughout the season.
Conclusion
With just a little planning and care, tulips can become the highlight of your spring garden. Their vibrant colors and graceful blooms offer big rewards for minimal effort. Whether you’re planting a few in containers or creating a full garden bed, tulips are a beginner-friendly way to bring beauty to your outdoor space.