How to Grow Mushrooms Indoors Using a Simple DIY Setup
Growing mushrooms indoors is easier than you might think and you don’t need fancy equipment to get started. With just a few simple materials and a little care, you can produce fresh, flavorful mushrooms right from your kitchen or closet. This guide walks you through everything you need to know to create your own DIY indoor mushroom setup.
Why grow mushrooms indoors
Growing mushrooms indoors is a rewarding and surprisingly simple project. It allows you to produce fresh, edible mushrooms year-round without needing a backyard or garden bed. You also gain full control over cleanliness, moisture, and lighting conditions, making for a reliable harvest.
Indoor mushroom growing is perfect for those living in apartments or cooler climates. It’s a low-maintenance way to add a new layer of self-sufficiency to your kitchen or home garden routine. Plus, the taste and texture of homegrown mushrooms often far surpass store-bought varieties.
Choose your mushroom type
Beginner-friendly varieties
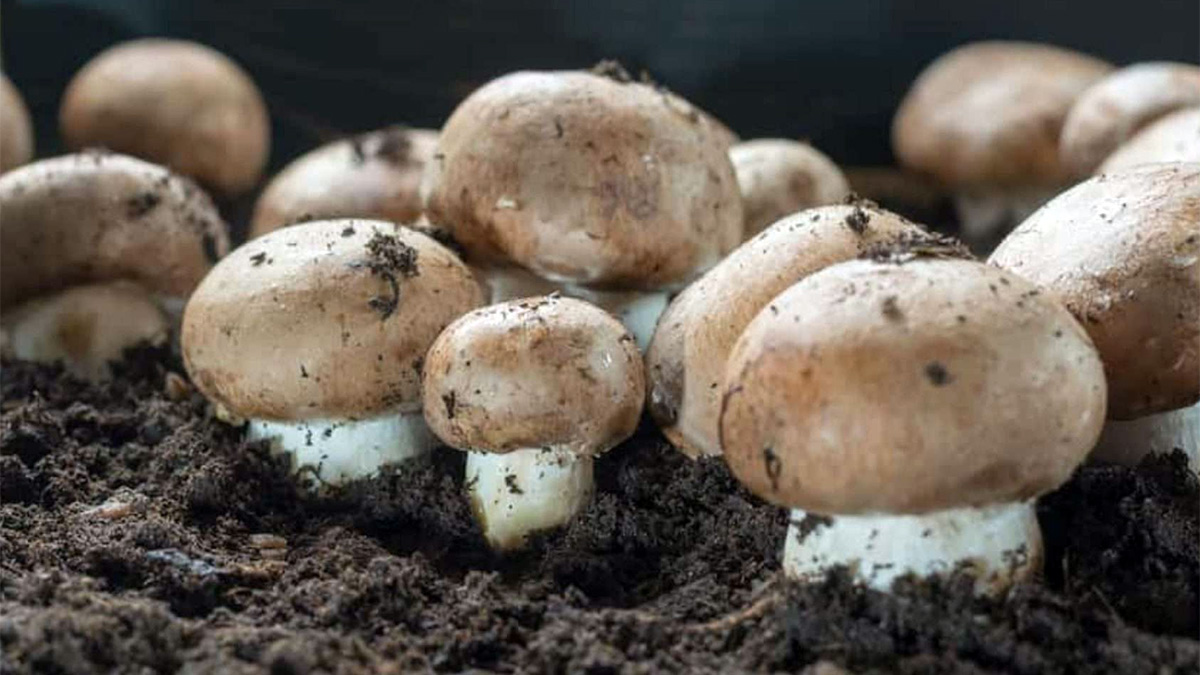
For beginners, oyster mushrooms are among the easiest to grow. They’re fast, forgiving, and grow on a wide variety of materials. White button mushrooms and shiitake are also good options, with button mushrooms being widely familiar and shiitake offering a rich, meaty flavor.
What to consider when choosing
Different mushrooms have different needs. Some grow best on wood-based materials like sawdust, while others thrive in coffee grounds or straw. Consider how much space and humidity you can provide, along with your personal taste preferences.
What you’ll need for a basic indoor setup
To get started, you’ll need mushroom spawn, which is like a starter culture for mushrooms. You can buy this online or from garden centers, or choose a pre-made mushroom growing kit for convenience. You’ll also need a clean container like a plastic tote, bucket, or cardboard box to hold your growing medium.
The growing medium depends on the mushroom type but commonly includes pasteurized straw, sawdust, or used coffee grounds. A spray bottle is essential for maintaining humidity, and a small, dimly lit area like a cabinet, closet, or basement corner works well for growing. Optional items include a thermometer and hygrometer to monitor temperature and moisture.
How to set up your mushroom growing station
Preparing the container
Start by cleaning your container thoroughly to prevent mold or contamination. If you’re using a plastic tote or bin, consider drilling a few small holes along the sides for air exchange. Line the container with your chosen growing medium, which should be damp but not dripping wet.
Inoculating the substrate
Mix the mushroom spawn into the growing medium as evenly as possible. You want the mycelium, which is the root-like structure of fungi, to colonize the material fully. Once mixed, gently press it into the container without packing it too tightly.
Creating the right environment
Mushrooms thrive in dark, humid, and moderately warm conditions. Place the container in a spot that stays between 65 and 75 degrees Fahrenheit and receives very little light. To retain moisture, cover the container loosely with a lid or clear plastic to create a humidity tent, and mist the substrate once or twice daily.
Growth stages and what to expect
The first stage is colonization, where white thread-like mycelium spreads through the growing medium. This can take anywhere from 7 to 21 days, depending on the variety and conditions. Once the substrate is fully colonized, you’ll see small mushroom pins begin to form.
The pinning stage is exciting, as these tiny bumps quickly develop into recognizable mushrooms. Fruiting follows, where the mushrooms grow rapidly and are usually ready to harvest within a few days. Keep humidity high and avoid direct light during this time for the best results.
Troubleshooting common problems
If you notice green, black, or fuzzy mold, the container may not be clean or the humidity might be too high. Remove affected areas if possible and monitor carefully. If mushrooms are not growing at all, check for low temperatures or a dry substrate.
Overwatering can also stall growth or lead to rot. The substrate should feel damp to the touch but not soggy. A light misting once or twice a day is usually enough, especially if your container is well-sealed.
Harvesting and enjoying your mushrooms
Mushrooms are typically ready to harvest when their caps begin to flatten but before the edges curl upward. Use a clean knife or twist gently at the base to remove them without damaging the surrounding area. Avoid pulling too hard, as this can disrupt the rest of the growing block.
Freshly harvested mushrooms can be stored in a paper bag in the refrigerator for up to a week. For the best flavor, cook them soon after picking. Sauteed mushrooms make a great addition to eggs, pastas, soups, and grain bowls.
How to reuse or expand your setup
Many mushroom substrates will produce more than one flush of mushrooms. After harvesting, continue misting daily and keep conditions consistent to encourage a second round of fruiting. Once growth stops entirely, the substrate can be composted or added to your garden.
To expand, consider setting up multiple containers with different varieties. You can also try more advanced techniques like creating your own spawn or using logs and bags. Once you have the basics down, it’s easy to scale up and experiment with new types.
Conclusion
With a basic setup and a bit of attention, growing mushrooms indoors is a fun and rewarding way to add fresh ingredients to your meals. Once you get the hang of it, you may find yourself experimenting with new varieties and expanding your grow space. Whether you’re after flavor, sustainability, or a unique indoor project, mushrooms are a great place to start.