How to Grow Hydrangea from Cuttings for a Bloom-Filled Garden
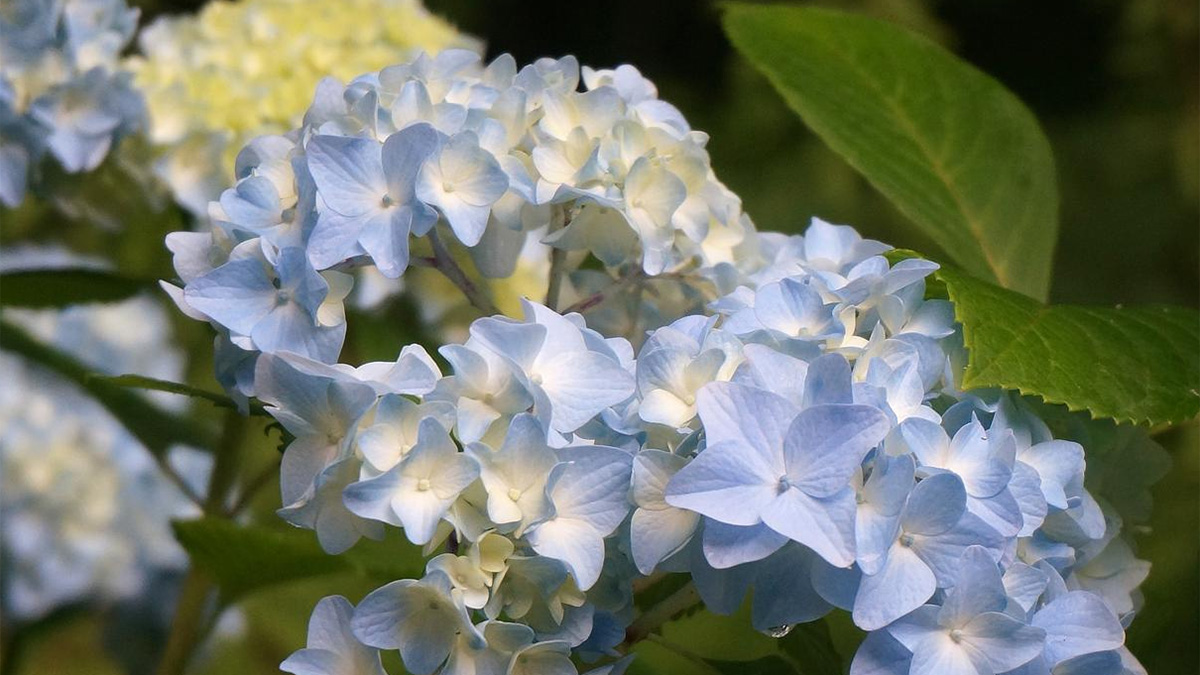
Hydrangeas are among the most eye-catching flowering shrubs, known for their large clusters of colorful blooms. Instead of purchasing new plants, you can easily grow hydrangeas from cuttings and enjoy a garden filled with beautiful blossoms. This guide will walk you through everything you need to know to propagate hydrangeas successfully and create a bloom-filled garden.
Related: Helpful Tips for Growing Beautiful Hydrangeas
Why grow hydrangeas from cuttings
Propagating hydrangeas from cuttings is an easy way to expand your garden without buying new plants. It is especially helpful if you have a favorite variety you want to replicate. Compared with starting from seed, cuttings establish sooner and will produce flowers faster.
There is also a rewarding sense of achievement when you see your own cuttings grow into strong, flowering shrubs. Sharing propagated hydrangeas with friends or neighbors is another enjoyable bonus. It is both practical and cost-effective for home gardeners.
When to take hydrangea cuttings
The best time to take hydrangea cuttings is late spring through summer when plants are actively growing. Softwood cuttings taken from young, flexible growth root the fastest. Semi-hardwood cuttings from slightly more mature stems can also work well in midsummer.
The time of day matters too. Early morning is ideal since plants are well hydrated and less stressed by heat. Avoid collecting cuttings in the middle of hot afternoons when stems can wilt quickly as this will affect your strike rate.
Choosing the right cuttings
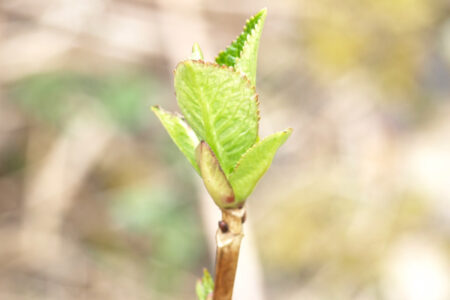
Healthy parent plants are the foundation of successful propagation. Select a shrub that is pest-free, disease-free, and blooming well. Avoid any weak or damaged stems.
Choose stems that are firm but not woody. Cuttings about 4 to 6 inches long with at least two or three pairs of leaves are the right size. Remove any flowers or buds so the plant directs energy into rooting instead of blooming.
Step-by-step guide to propagating hydrangeas from cuttings
1. Gather Your Supplies
Before you snip, make sure your kit is ready. You will need:
- Sharp pruners or shears: Sterilize them with rubbing alcohol to prevent fungal issues.
- Potting medium: A sterile mix of peat and perlite or vermiculite works best.
- Containers: Small 4-inch pots with drainage holes.
- Rooting hormone: Powder or gel (optional, but speeds up results).
2. Take the Cuttings
Select a healthy, non-flowering stem. Snip a 4–6 inch section just below a leaf node (the bump where leaves grow) this is the sweet spot for root formation.
- Trim: Remove the lower leaves, keeping only the top set.
- Reduce: If the top leaves are large, cut them in half horizontally to reduce moisture loss without stopping photosynthesis.
3. Choose Your Method
Method A: Rooting in Soil (Recommended) This method usually produces stronger roots.
- Dip the cut end into rooting hormone.
- Insert the cutting about two inches deep into your moist potting mix.
- Firm the soil gently to keep the stem upright.
- Pro Tip: Cover the pot with a clear plastic bag to create a mini-greenhouse effect.
Method B: Rooting in Water A fun way to watch roots grow, though transplanting can be tricky.
- Place the stem in a glass of clear water, ensuring at least one node is submerged.
- Change the water every few days to prevent bacteria buildup.
- Once roots are 1–2 inches long, plant them gently into soil. Be careful as roots are fragile!
Caring for cuttings as they root
New cuttings need a humid environment to prevent drying out. Covering them with a clear plastic bag or placing them in a mini greenhouse works well. Make sure the cover does not touch the leaves directly. Keep the soil moist but not waterlogged. Place the pots in bright, indirect light, as direct sunlight can scorch the tender leaves. Roots usually begin to form in two to four weeks, depending on conditions.
Transplanting young hydrangeas
Once cuttings show strong root growth, they can be moved to larger pots. Give them more space to spread their roots before eventually planting them in the garden.
Before moving outdoors permanently, harden off young plants by gradually exposing them to outdoor conditions over a week. Hydrangeas thrive in well-drained, rich soil with partial shade. Planting them in the right spot encourages bigger, longer-lasting blooms.
Tips for long-term care

Hydrangeas need consistent watering, especially in their first year. Mulching helps retain moisture and regulate soil temperature. Once established, they are fairly low-maintenance with regular care.
Fertilize in spring and early summer with a balanced formula to promote lush growth and flowers. Prune according to the type of hydrangea you are growing, as timing can affect blooming. With proper care, propagated plants can perform just as well as nursery-bought shrubs.
Common mistakes and how to avoid them
Overwatering is one of the most common errors when rooting cuttings. Waterlogged soil can cause rot, so aim for consistent but not excessive moisture. Another mistake is using weak or unhealthy parent plants, which reduces success.
Cuttings without enough humidity may wilt before roots form. Using a cover or misting regularly helps keep them hydrated. Skipping rooting hormone is also a common issue, as it lowers the success rate for beginners.
Frequently asked questions
How long does it take hydrangea cuttings to root?
Softwood cuttings usually root in about two to four weeks. Semi-hardwood or hardwood cuttings may take longer.
Can you propagate all hydrangea varieties this way?
Most hydrangea varieties can be propagated from cuttings, including bigleaf, panicle, and smooth hydrangeas. Some types may take longer to root than others.
What’s the success rate for beginners?
With the right conditions, many gardeners achieve success rates of 70 percent or higher. Using rooting hormone and proper humidity improves results.
Do hydrangeas grown from cuttings bloom as quickly as nursery plants?
Yes, hydrangeas from cuttings often bloom within two to three years, similar to nursery-grown plants. Patience and consistent care are key.
Conclusion
Propagating hydrangeas from cuttings is a simple, cost-effective way to expand your garden. With the right timing, care, and patience, cuttings can grow into strong shrubs that reward you with abundant flowers year after year. Start with a few cuttings, and soon you’ll have a thriving collection of hydrangeas to brighten your garden.