Growing Microgreens at Home: Tiny Greens with Big Health Benefits
Microgreens are gaining popularity for their incredible nutritional value, simplicity, and quick growth cycle. Growing microgreens at home allows easy access to nutritious greens year-round, enhances your meals, and offers a fun and sustainable hobby.
What are microgreens?
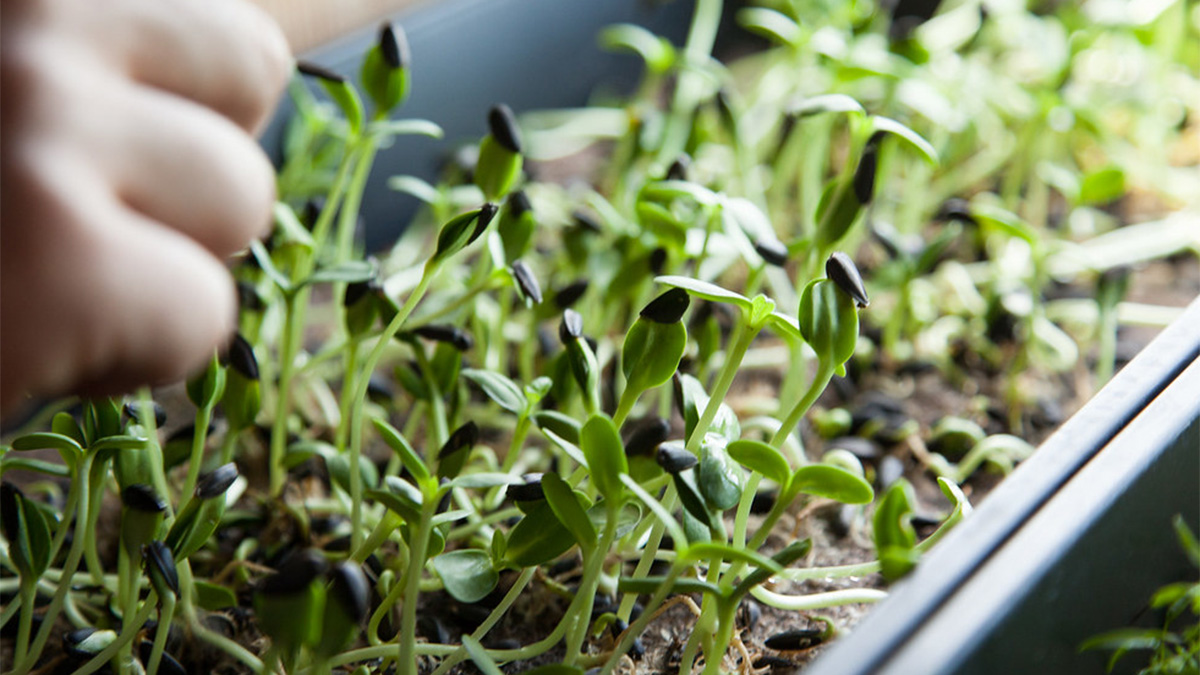
Microgreens are young seedlings of vegetables and herbs harvested just after their first leaves develop. Popular microgreens include broccoli, radish, sunflower, and pea shoots. They differ from sprouts, which grow without soil and are harvested earlier, and from baby greens, which are older and harvested after more mature leaves appear.
Benefits of growing your own microgreens
Growing microgreens at home offers significant nutritional benefits, as these tiny greens are packed with vitamins, antioxidants, and minerals. They often contain higher nutrient concentrations compared to mature vegetables. Cultivating microgreens at home is cost-effective, convenient, and ensures fresh produce without harmful chemicals or pesticides.
Growing Microgreens at Home: A Step-by-Step Guide
Growing your own nutrient-dense greens is surprisingly simple. Follow these four phases to go from seed to harvest in under two weeks.
1. Prep Your Supplies
Before you get your hands dirty, gather the essentials:
- Tray: A shallow growing tray with drainage holes.
- Medium: Quality potting soil or coconut coir.
- Seeds: Radish, sunflower, and broccoli are great beginner choices.
2. Planting the Seeds
- Fill & Level: Fill your tray evenly with soil, pressing down gently to create a flat surface.
- Moisten: Lightly mist the soil with a spray bottle until damp (not waterlogged).
- Sow: Sprinkle seeds evenly across the surface. Aim for dense coverage without overcrowding.
- Press & Mist: Gently press seeds into the soil for better contact, then give them one last light misting.
3. The Germination Phase
To help your seeds wake up, you need to mimic the environment of the earth:
- The Blackout: Cover the tray with a lid or another tray to provide total darkness and trap humidity.
- Wait: Keep them covered for 2–3 days until seedlings begin to emerge.
- Light: Once they sprout, remove the cover and move them to a spot with bright, indirect sunlight or under a grow light.
4. Care and Harvest
- Harvest: Use clean scissors to snip the greens just above the soil line.
- Maintenance: Mist lightly every day. The goal is consistent moisture without soaking the soil, which can lead to mold.
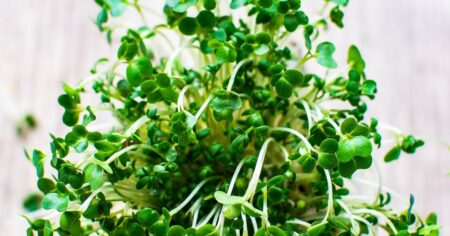
- The Sweet Spot: In 7–14 days, when the plants are 2–3 inches tall and show their first “true leaves,” they are ready.
Quick Tip: Always rinse your greens in cool water immediately after harvesting to ensure they’re kitchen-ready!
Pro Tips for Microgreen Success
Mastering the environment is the difference between a lush tray and a moldy one.
- Master “Bottom Watering”: Instead of misting from the top (which can trap moisture on leaves and cause rot), place your growing tray into a slightly larger solid tray with an inch of water. Let the soil wick it up for 10 minutes, then remove.
- The Airflow Secret: Stagnant air is the enemy. If your grow area feels humid, use a small desk fan on a low setting. This prevents “damping off,” a fungal disease where stems suddenly collapse.
- Fixing “Leggy” Stems: If your greens are tall, pale, and falling over, they’re starving for light. Move them to a brighter window or lower your grow lights to about 2–4 inches above the plants.
Common Pitfalls (and How to Fix Them)
- Over-seeding: If you sow too thickly, you’ll get mold and stunted growth. The Fix: Leave tiny gaps between seeds; they need “elbow room” to breathe.
- Yellow Leaves: This usually indicates either too much water or not enough sun. The Fix: Scale back the misting and ensure they get at least 6 hours of bright light.
- Premature Harvesting: Picking too early results in weak flavor. The Fix: Wait for the “true leaves” (the second set of different-looking leaves) to appear for the best taste and nutrition.
From Tray to Table: Culinary Inspiration
Microgreens aren’t just a garnish; they are concentrated flavor powerhouses. Since they are harvested so early, their taste is a bold, “essence” version of the mature plant.
- The Finishing Touch: Float a handful of Cilantro or Pea Shoots on top of hot ramen, curry, or tomato soup just before serving.
- The Spicy Kick: Use Radish or Mustard microgreens to add a peppery bite to tacos, avocado toast, or burgers.
- The Nutty Crunch: Sunflower shoots are hearty and “meaty,” making them a perfect base for a standalone micro-salad or a wrap filler.
- The Smoothie Boost: Blend Kale or Broccoli microgreens into your morning shake. You get the nutritional hit of a full head of broccoli without the fibrous texture.
Conclusion
Growing microgreens at home is rewarding, nutritious, and sustainable. With basic supplies, consistent care, and a little practice, you can quickly enjoy health benefits of fresh microgreens and potentially turn your new hobby into a profitable venture.