Growing Garlic: When to Plant, How to Harvest, and What to Avoid
Garlic is one of the easiest and most satisfying crops to grow at home, offering bold flavor and long storage life. With the right timing and a few key techniques, even beginner gardeners can enjoy a successful harvest. Whether you’re planting in a backyard bed or raised container, garlic rewards patience with a season’s worth of kitchen-ready bulbs.
Understanding the types of garlic
Garlic comes in two main types: hardneck and softneck. Hardneck garlic produces a central flowering stalk called a scape and tends to grow best in regions with cold winters. Softneck garlic lacks a scape, stores longer, and typically does better in warmer southern climates.
Hardneck varieties like ‘Music’ or ‘German Red’ are known for their bold flavor and easy-to-peel cloves. Softneck types, such as ‘California Early’ or ‘Inchelium Red,’ offer a mild flavor and are great for braiding. Choosing the right type depends largely on your growing zone and how long you want your garlic to store.
When to plant garlic
The best time to plant garlic in most parts of the U.S. is in the fall, typically from late September through November. Planting four to six weeks before the ground freezes allows roots to establish before winter dormancy. In milder climates, gardeners can also try a spring planting, but bulbs may be smaller.
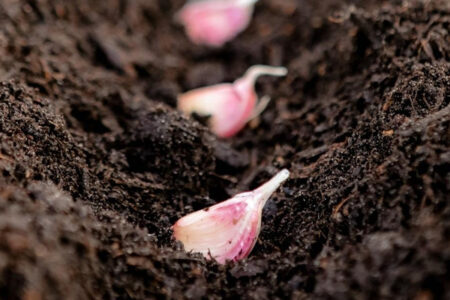
Before planting, separate garlic bulbs into individual cloves, leaving the papery skins intact. Use the largest cloves for planting and reserve the smaller ones for cooking. Do not peel the cloves, as this protects them from soil-borne diseases.
How to plant garlic
1. Prepare the Site Choose a location that receives full sun (6+ hours) and has fertile, well-draining soil. Garlic struggles in heavy clay, so loosen the soil to a depth of 6–8 inches and mix in a generous amount of compost to improve drainage and nutrient density.
2. Plant the Cloves Separate your garlic bulb into individual cloves just before planting. Place each clove into the soil pointed end up (this is crucial for stem growth).
- Depth: 2 inches deep.
- Spacing: 4 to 6 inches apart in rows.
3. Mulch for Protection Immediately after planting, cover the bed with a thick layer of straw or shredded leaves. This mulch insulates the soil against freezing temperatures and suppresses spring weeds.
Note: As the weather warms in spring, check your mulch. If it becomes matted or soggy, pull some back to allow the soil to breathe.
Caring for garlic during the growing season
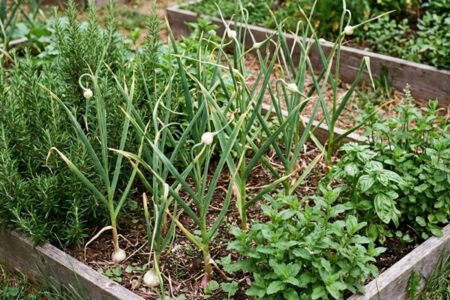
Garlic requires regular watering during the spring and early summer as the bulbs begin to swell. Keep the soil evenly moist but not soggy, especially in the weeks after the scapes emerge. Once the leaves begin to yellow in mid to late summer, reduce watering to allow the bulbs to cure naturally in the ground.
Fertilize in early spring with a nitrogen-rich source such as fish emulsion or blood meal. Stop feeding once the bulbs start to form to prevent overly leafy growth. If you are growing hardneck garlic, remove the curly scapes when they appear to direct energy back into the bulb.
When and how to harvest garlic
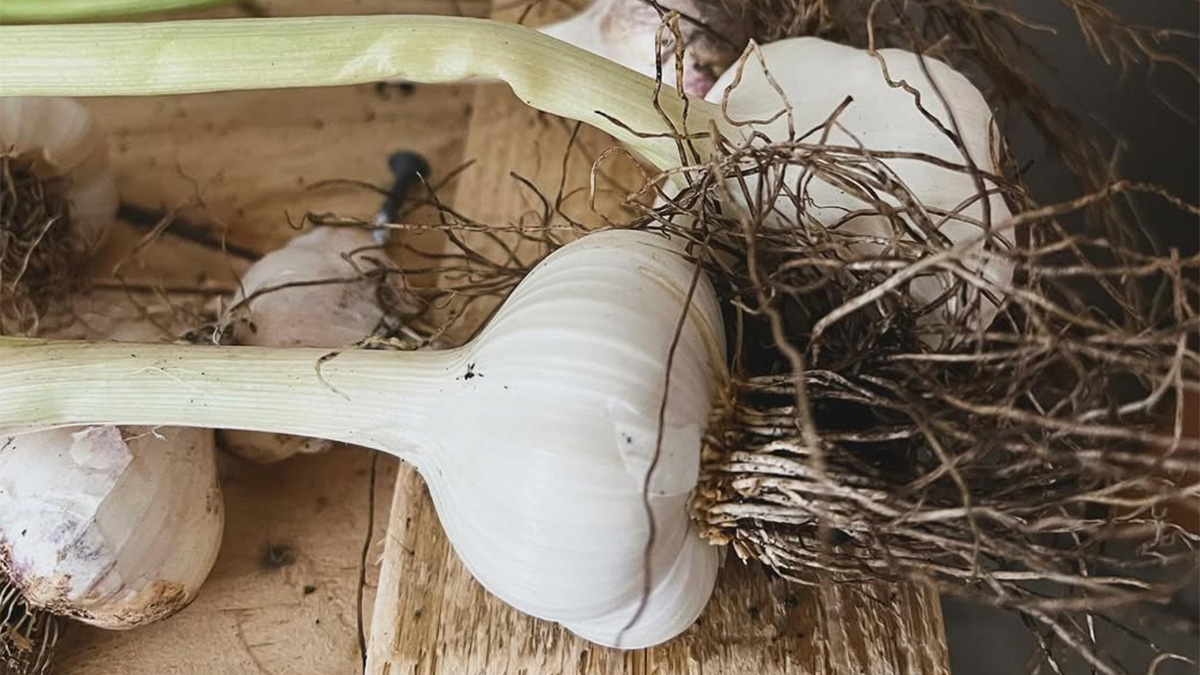
Garlic is typically ready to harvest in mid to late summer, around seven to nine months after planting. Look for lower leaves turning brown while the upper ones remain green. Use a garden fork or trowel to gently lift the bulbs rather than pulling them, which can damage the stem or cloves.
Once harvested, leave the garlic unwashed and intact, including stems and roots. Hang in bunches or lay flat in a dry, shaded, well-ventilated area for two to three weeks. Proper curing is essential for flavor development and long-term storage.
5 Common Garlic Growing Mistakes
1. Using Grocery Store Garlic The Risk: Supermarket garlic is often treated with chemicals to prevent sprouting and may carry viruses. The Fix: Always buy certified seed garlic from a reputable nursery to ensure disease-free, vigorous growth.
2. Planting Too Late The Risk: If the ground freezes before roots establish, you will end up with weak plants or tiny bulbs. The Fix: Get your cloves in the ground 4–6 weeks before the heavy frost sets in.
3. Overcrowding and Poor Airflow The Risk: Garlic is susceptible to fungal diseases if planted too closely together. The Fix: Stick to 6-inch spacing and keep the bed weed-free to ensure air can circulate around the stems.
4. Overwatering Near Harvest The Risk: Soaking the plants in late spring or early summer can cause the bulb wrappers to rot. The Fix: Taper off watering as the leaves begin to brown/die back.
5. Ignoring Crop Rotation The Risk: Planting in the same spot repeatedly increases the risk of white rot. The Fix: Rotate your garlic bed to a different section of the garden each year (ideally on a 3-year cycle).
Storing and using your garlic
Once cured, trim the stems to about an inch above the bulb and remove loose dirt and outer wrappers by hand. Store garlic in a cool, dark, and dry location with plenty of airflow, such as in mesh bags or baskets. Softneck varieties can also be braided and hung for both storage and decoration.
Use fresh garlic in a wide variety of dishes, from sautés to soups. You can also roast whole heads, preserve cloves in oil (with proper safety precautions), or dehydrate them for garlic powder. Even sprouted garlic can be planted again or used in cooking if the flavor is still mild.
Conclusion
Growing garlic is a rewarding experience that fits into nearly any garden space with minimal effort. From choosing the right type to harvesting at the perfect time, a little care goes a long way. Once you taste your own homegrown garlic, you’ll never want to go back to store-bought.