Beginner’s Guide to Growing Beautiful Orchids Indoors
Orchids may look exotic, but they’re surprisingly easy to grow with the right care. Whether you’re drawn to their elegant flowers or just curious about how to keep them happy indoors, this beginner’s guide will walk you through everything you need to know to grow beautiful orchids in your home.
Understanding orchids: A quick introduction
Orchids are one of the most diverse and fascinating plant families, known for their stunning blooms and unique growing habits. Unlike most houseplants, orchids often grow on trees in the wild, drawing nutrients from the air and rain. For beginners, certain types of orchids are surprisingly easy to care for indoors with the right approach.
Choosing the right orchid for your home
Moth orchids (Phalaenopsis) are the most beginner-friendly and widely available. They are forgiving and can bloom for several months under the right conditions. When choosing an orchid, consider your home’s light levels, average temperature, and how much care you’re willing to provide.
Healthy orchids are best purchased from reputable nurseries or garden centers, where plants are more likely to be pest-free and properly cared for. Look for plants with firm, green leaves and plump roots. Avoid orchids with wrinkled leaves, black spots, or soggy media.
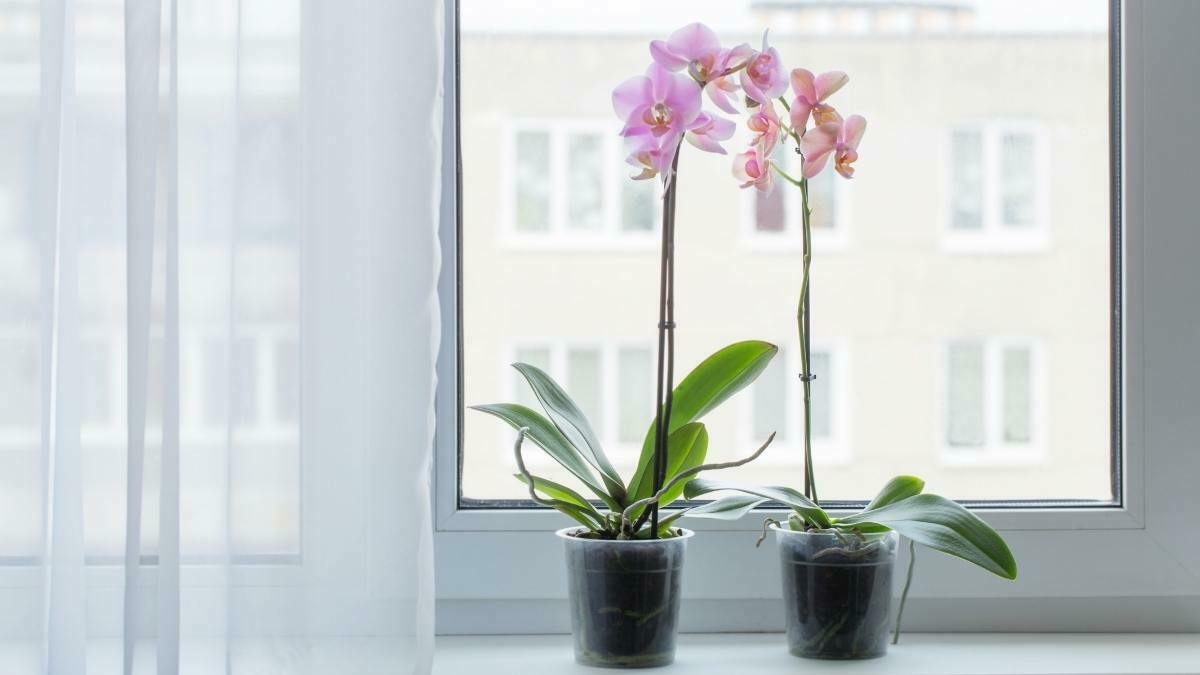
Light, temperature, and humidity needs
Orchids prefer bright, indirect light. A spot near an east or south-facing window with filtered sunlight usually works best. Direct sun can scorch the leaves, so sheer curtains or blinds may be needed to soften the light.
Ideal temperatures for most indoor orchids range from 65 to 75 degrees Fahrenheit during the day and a slight drop at night. Sudden temperature changes can stress the plant, so avoid placing them near heaters or drafty windows.
Humidity is important, especially during winter when indoor air can become dry. Aim for 40 to 60 percent humidity. You can increase moisture by grouping plants together, using a humidity tray, or running a small humidifier nearby.
Potting and soil tips
Orchids do not grow well in regular potting soil. Instead, use a mix made specifically for orchids, usually composed of bark, perlite, and charcoal to allow proper airflow to the roots. This prevents water from sitting around the roots and causing rot.
Clear plastic orchid pots with side slits are helpful because they let light reach the roots and improve drainage. Place the orchid pot inside a decorative container if you want to enhance appearance without sacrificing function.
Repot orchids every one to two years to refresh the growing medium and remove old roots. The best time to repot is after the orchid has finished blooming.
Watering orchids the right way
Most orchids prefer to dry out slightly between waterings. Depending on your home’s humidity and temperature, watering once a week is often enough. Always check the moisture level before watering to avoid root rot.
Overwatering is one of the most common mistakes. If the pot feels heavy and the roots look green, wait a few more days. Use room-temperature water and water in the morning to allow the leaves and crown to dry before nightfall.
Some people use the ice cube method, placing a few cubes on top of the media, but it’s better to use tepid water and thoroughly soak the medium, letting excess drain out completely.
Fertilizing for steady growth and blooms
Orchids need regular feeding during active growth to stay healthy and bloom. Use a balanced fertilizer formulated for orchids, diluted to half strength. Feed every two to four weeks during spring and summer.
Reduce fertilizing during fall and winter when growth slows. Watch for signs of nutrient deficiency, such as pale leaves or stalled growth. Be careful not to overfeed, as salt buildup can harm the roots.
Flush the pot with plain water every few months to clear out excess fertilizer salts. This helps keep the root zone clean and functioning properly.
Encouraging blooms and re-blooming
Orchids naturally bloom once or twice a year, with flowers lasting for weeks or even months. After the flowers fade, trim the spike just above a visible node to encourage a potential side shoot.
Reblooming often requires a change in temperature, particularly a slight drop at night over a few weeks. Move the plant to a cooler room or closer to a window if needed.
Don’t be discouraged if your orchid doesn’t rebloom right away. Focus on overall plant health and proper light, and blooms will usually follow with time and patience.
Common orchid problems and how to fix them
Yellow leaves can be caused by overwatering, too much direct sun, or natural aging. If only the bottom leaves turn yellow, it’s often nothing to worry about. But if multiple leaves yellow quickly, reassess your care routine.
Drooping or mushy roots signal too much moisture or poor drainage. Gently remove the orchid from its pot and trim any black or mushy roots before repotting in fresh medium.
Watch for pests like mealybugs or spider mites. Use insecticidal soap or gently wipe leaves with a damp cloth to keep pests under control. Isolate new orchids for a few weeks to prevent introducing issues to your other plants.
Orchid care through the seasons
In winter, orchids benefit from bright light and increased humidity. Keep them away from cold drafts and heating vents. Water less frequently as growth slows.
In summer, provide shade from intense afternoon sun and monitor for heat stress. If your orchids go outside during warm months, choose a shaded patio or porch.
Many orchids go through a rest period after blooming. During this time, reduce watering and fertilizing. This natural cycle helps set the stage for future blooms.
Conclusion
Growing orchids indoors doesn’t have to be complicated. With a little knowledge and consistency, even first-time plant owners can enjoy long-lasting blooms and healthy plants. Start with a beginner-friendly variety, follow these simple tips, and you’ll be enjoying the beauty of orchids in no time.